Batik painting process
about us
Brand Owner
"I am the proud founder of Grebr, a brand that came to life as I celebrated my 50th birthday. This venture represents not just a milestone in my life but also a testament to the belief that age is no barrier to pursuing one's dreams and passions."
Batik Process
-
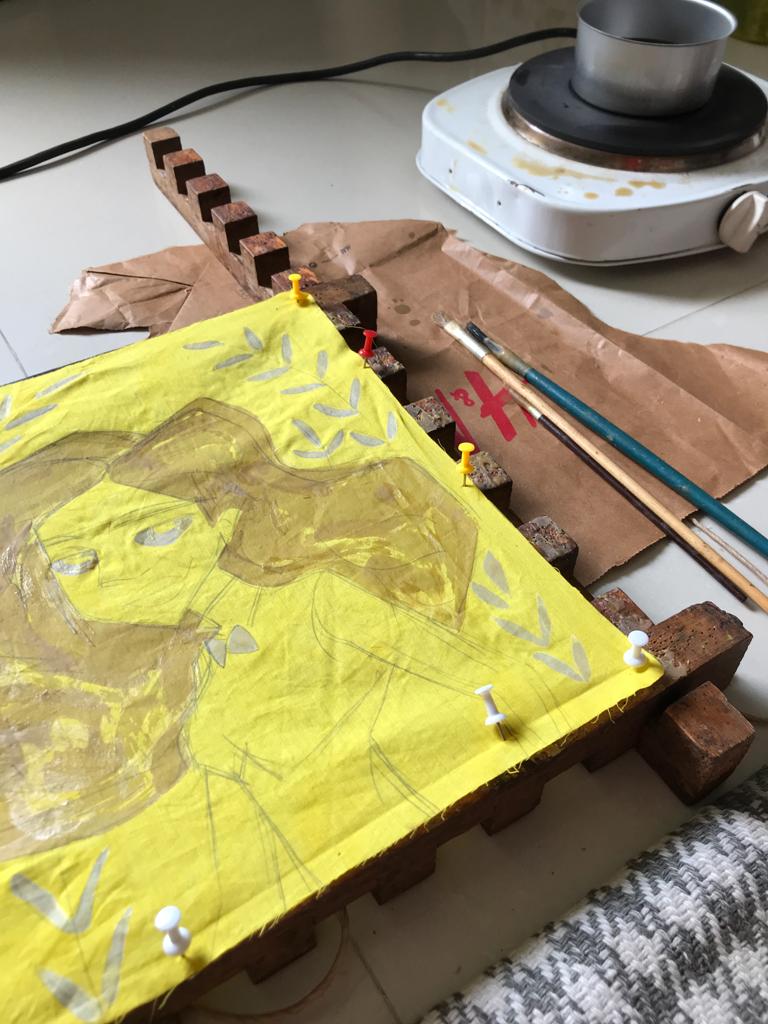
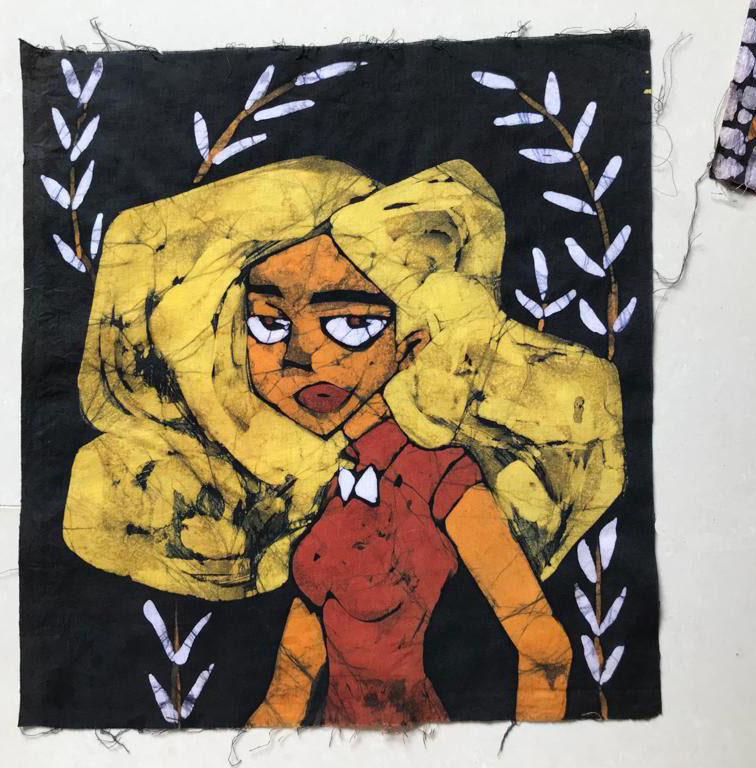
Design Planning
Plan your design on paper or directly on the fabric. Traditional batik often features repetitive geometric patterns or nature-inspired motifs.
-
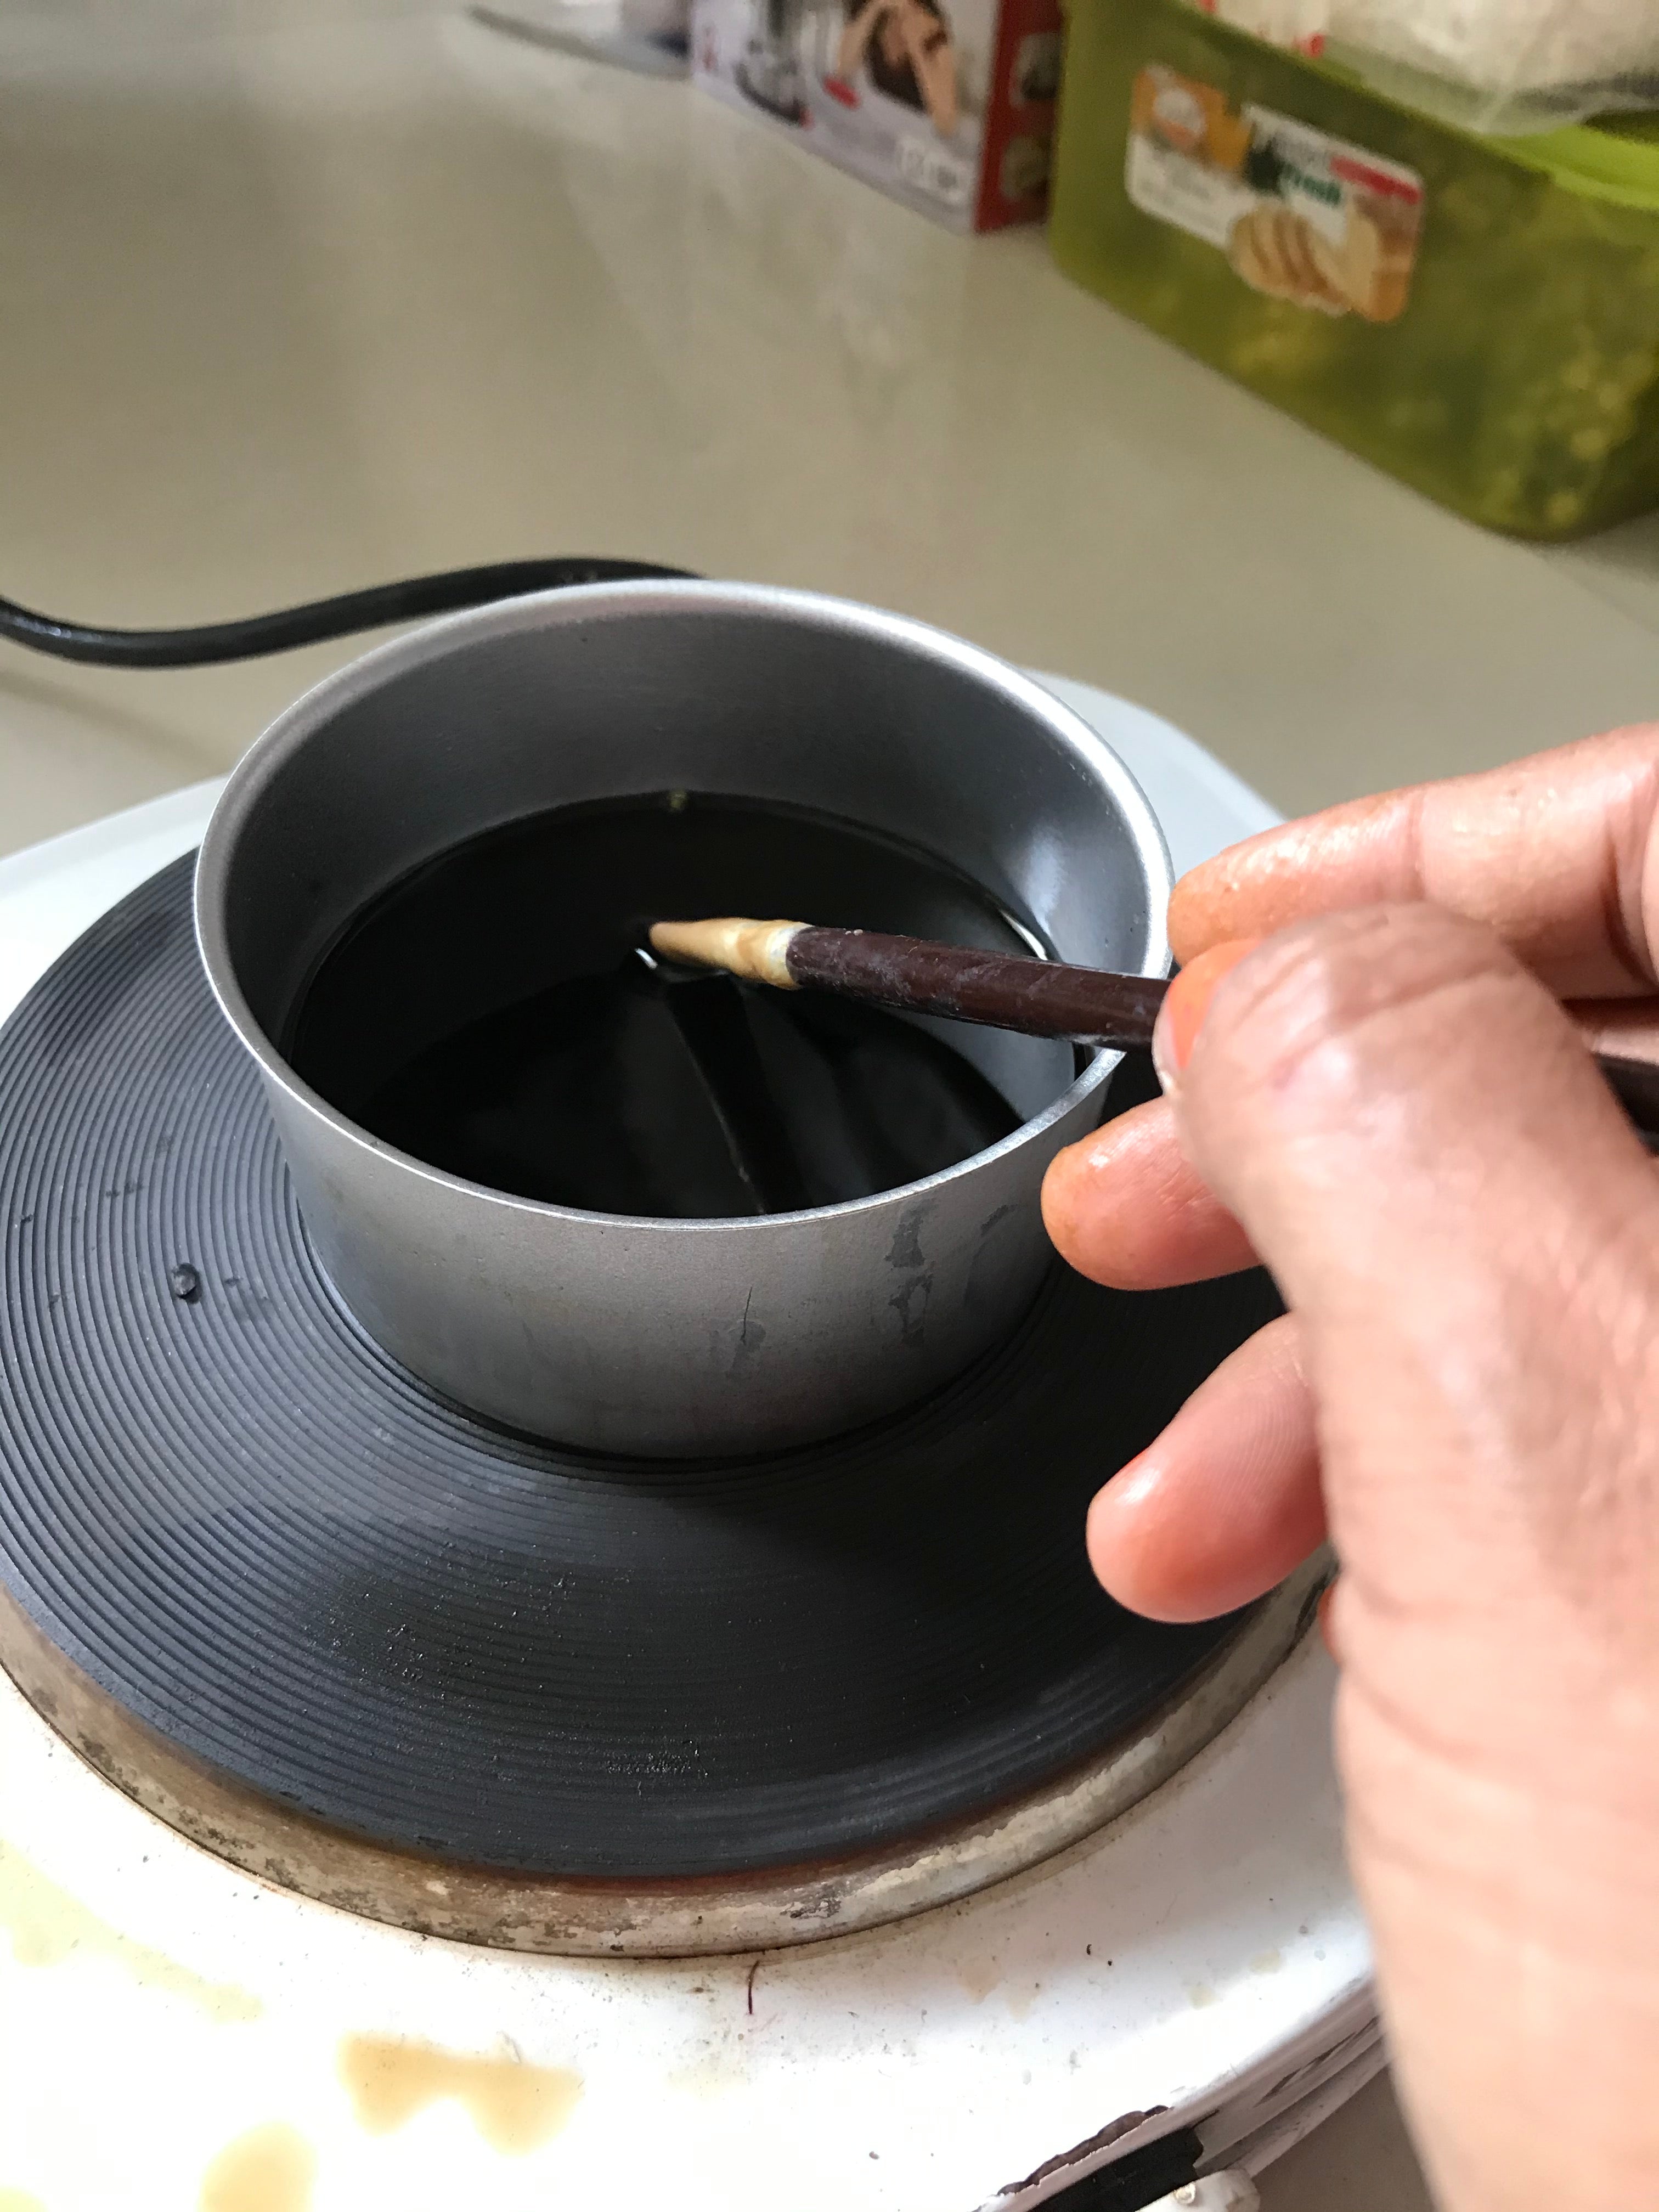
Heating Wax
Heat the wax to a liquid state. Be cautious as hot wax can cause burns.
-
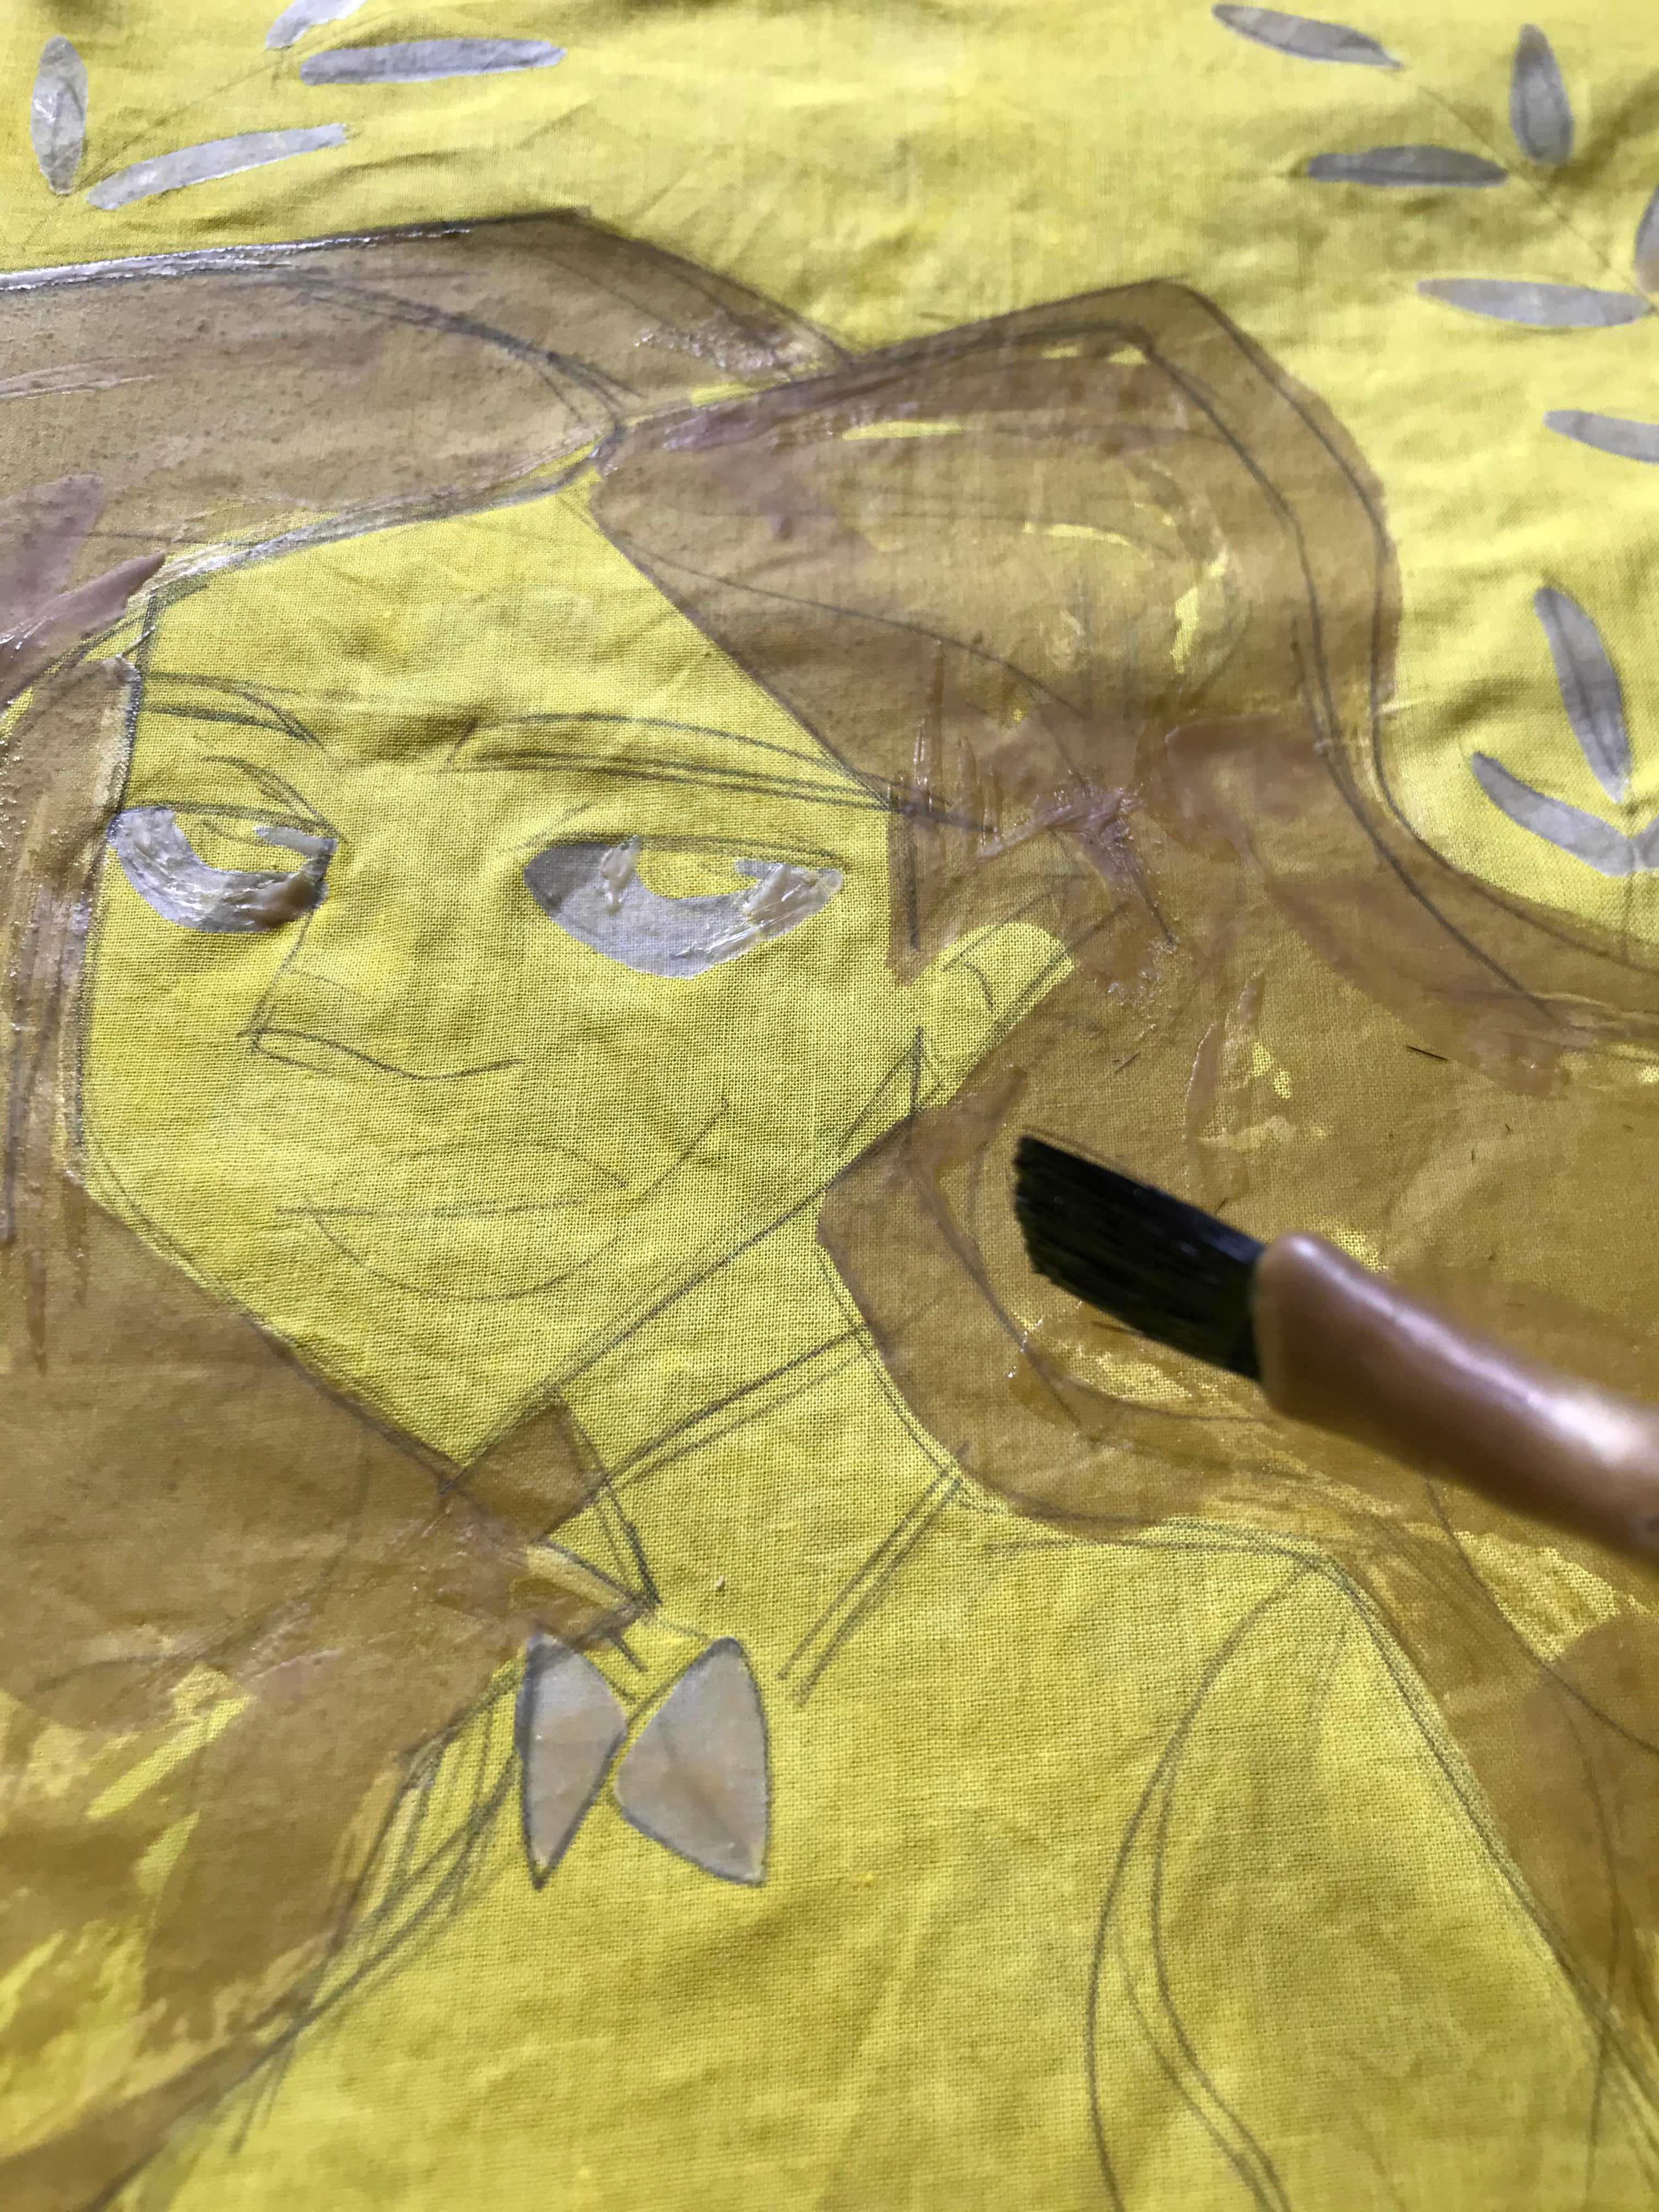
Wax Application
Use the tjanting tool or brushes to apply the wax to the areas you want to remain the original color. The wax creates a barrier, preventing the dye from penetrating those areas.
-
First Dye Bath
- Prepare the dye bath according to the instructions on the dye packaging.
- Immerse the fabric into the dye bath, allowing it to soak until the desired color is achieved.
- Remove the fabric and let it dry completely.
-
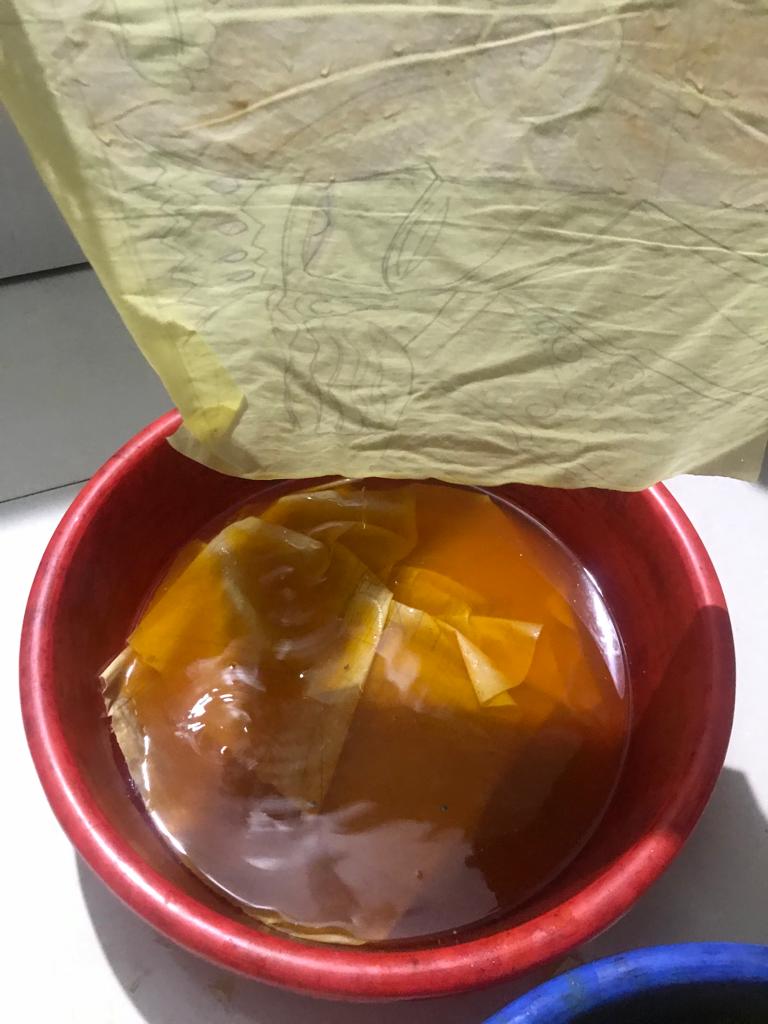
Wax Removal
- Carefully remove the wax. This can be done by ironing the fabric between layers of absorbent paper, which absorbs the melted wax.
- Alternatively, you can gently scrape off the wax with a knife, revealing the wax-resisted areas.
-
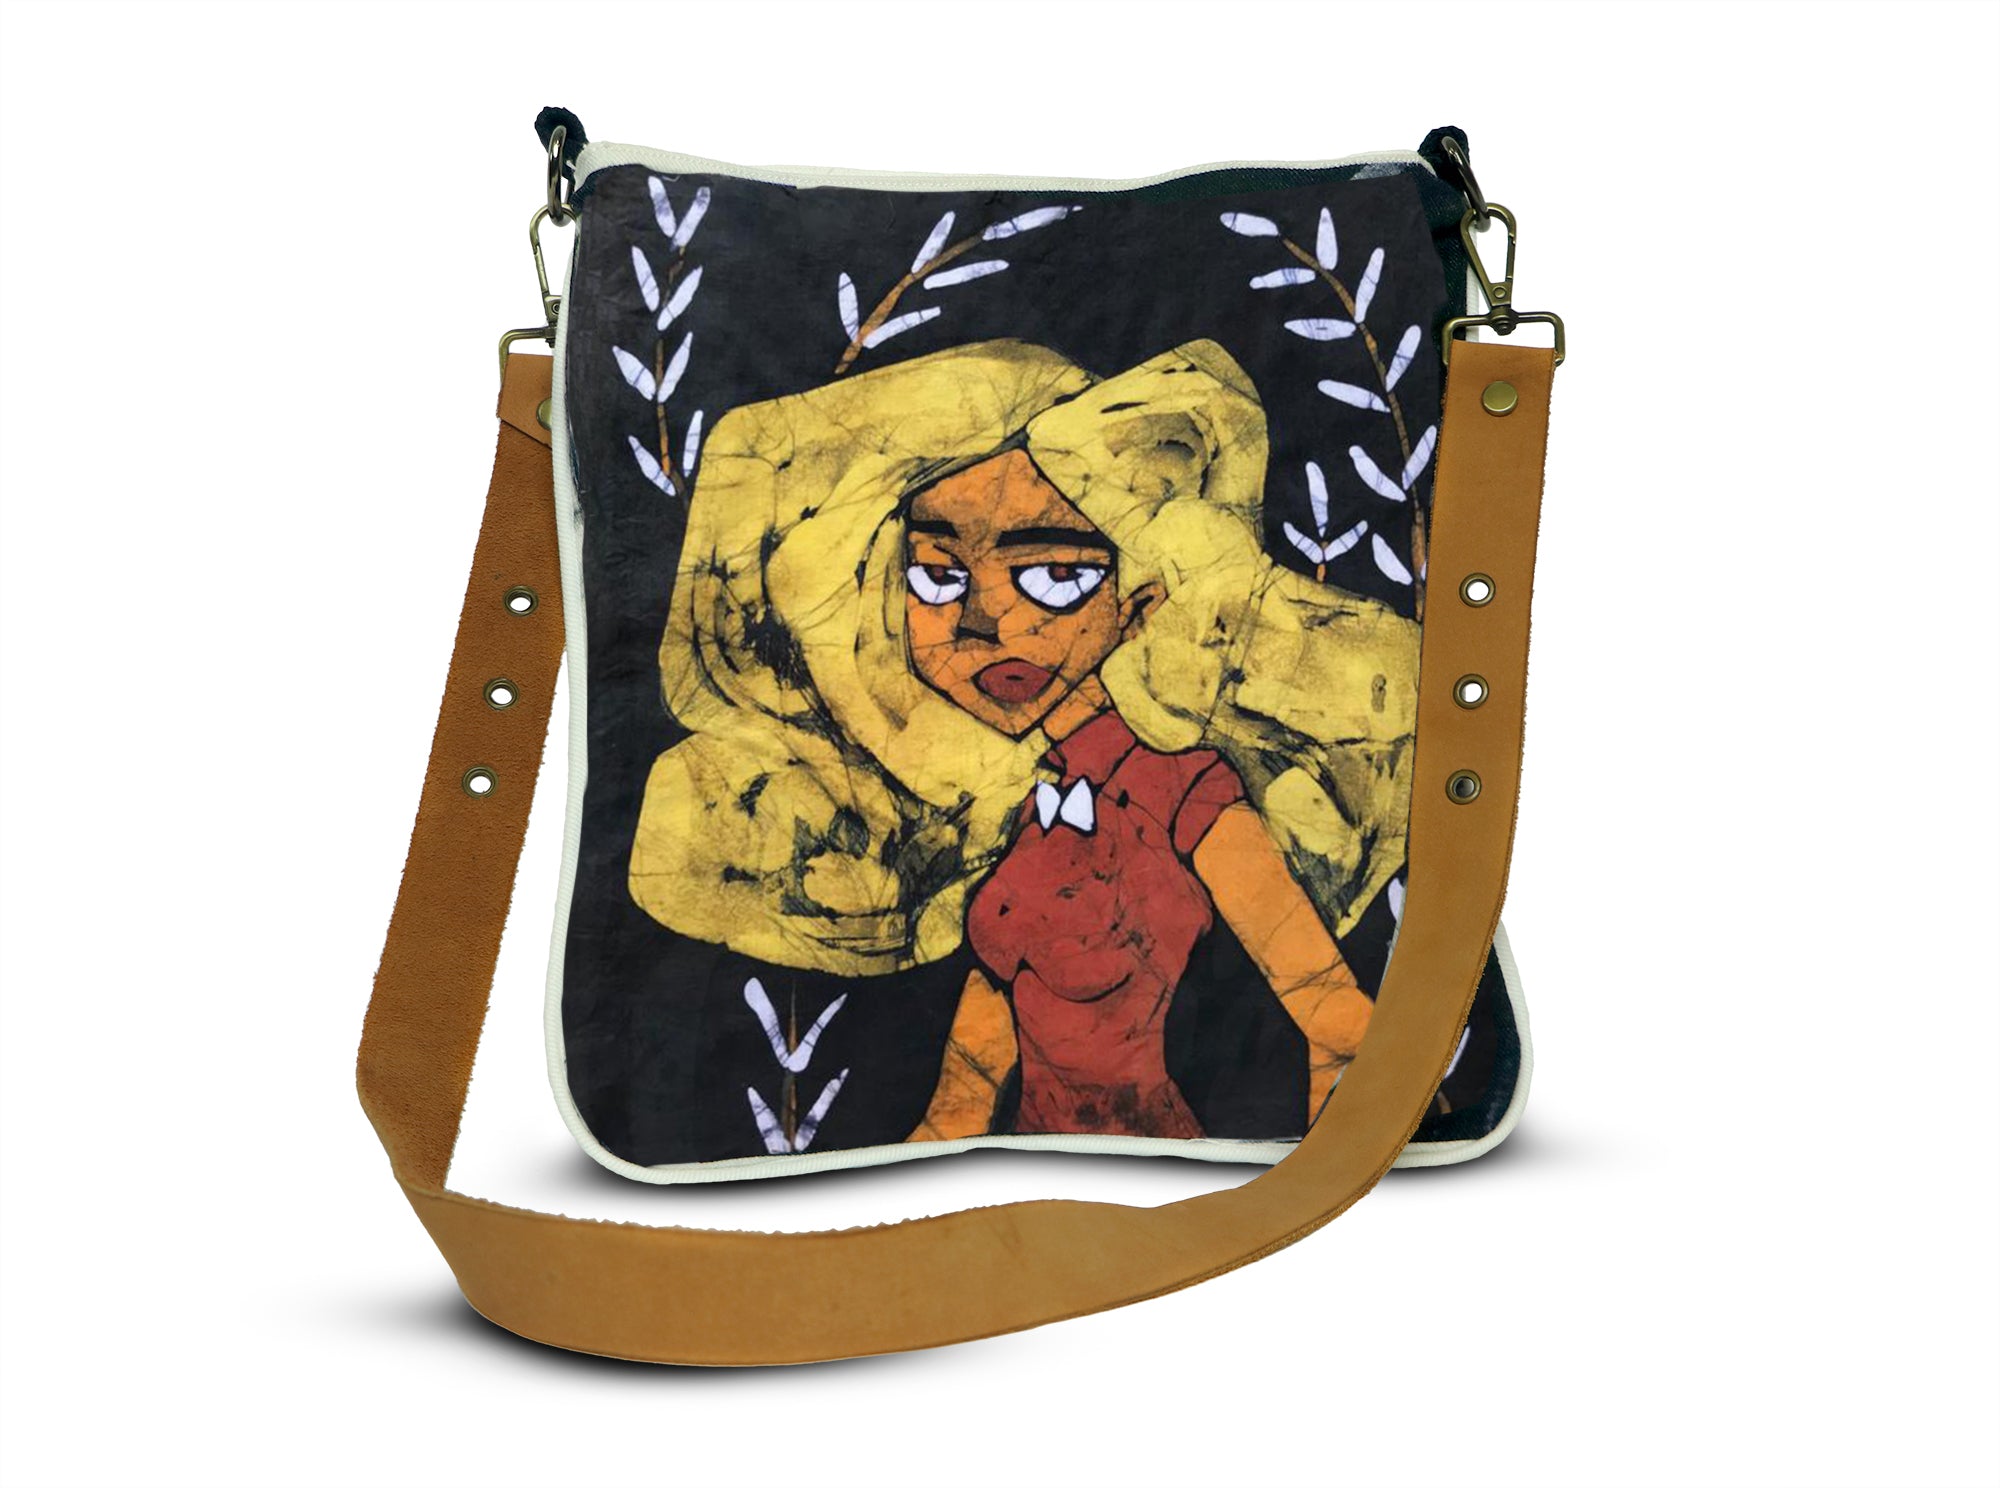
Final product
Painting is tweaked and printed on thick cloth and then turned into a beautiful bag.


